
How to Configure Ad Network Code in WordPress
A single misplaced script can turn a profitable ad placement into a slow page, an empty slot, or a reporting mystery. I’ve chased down more of those than I’d like to admit. So when you configure ad network code in WordPress, pasting a tag and hoping for impressions won’t cut it. You need to know what the network gave you and where it belongs. You also need to know how it loads and how it gets along with your theme, your cache, your consent tools, and your direct-sold campaigns.
For most publishers, the right setup keeps advertising flexible without handing third-party code the keys to the whole site. That means testing on purpose and using consistent placement rules. It also means keeping a clear record of which network code powers each position.
Start by identifying the ad code you received
Ad networks don’t all hand you the same kind of code. Some give you a single sitewide script that should load once (usually in the document head). Others give you individual ad-unit tags for a leaderboard, a sidebar unit, an in-content placement, or a sticky position. And a tag might be HTML, JavaScript, an iframe… or some mix of them.
I’d read the network’s implementation instructions before you place anything in WordPress. Mostly you’re figuring out whether the code is meant for the site header, the page body, or a specific container. If you add a sitewide script to every ad slot, you can end up with duplicate requests, extra page weight, and rendering that’s hard to predict.
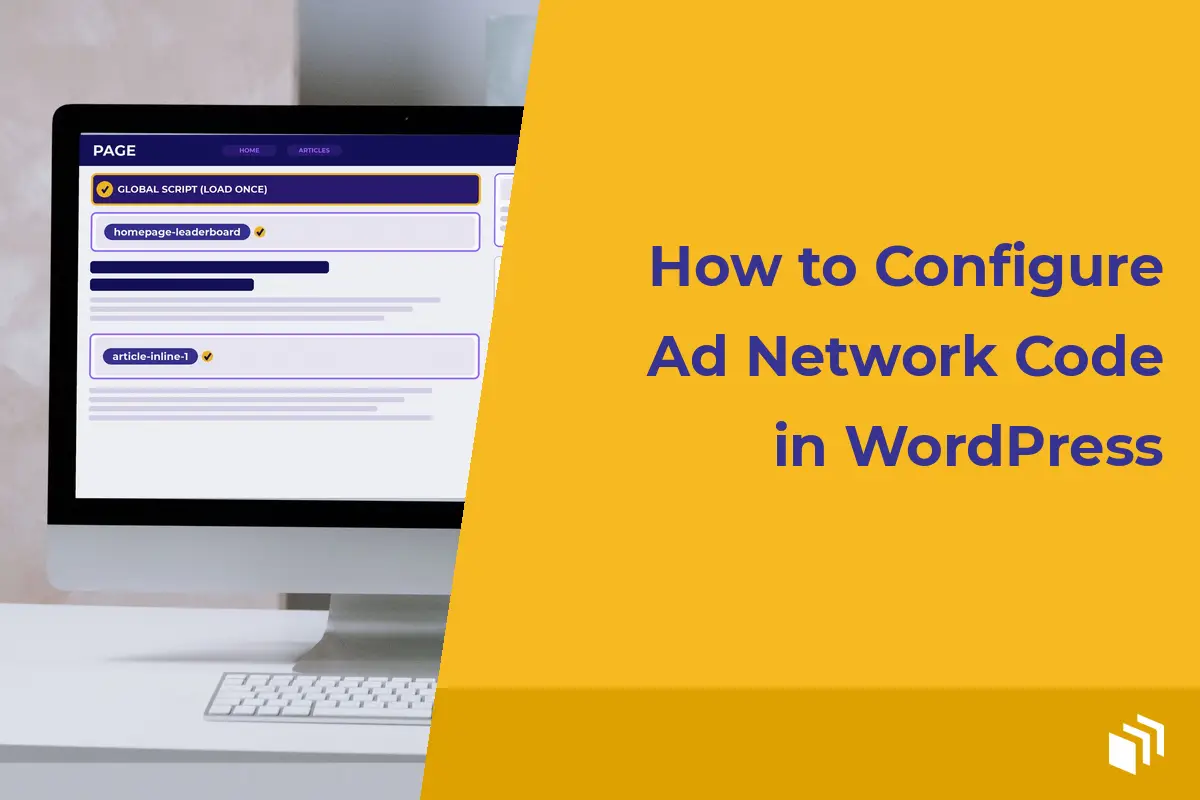
Keep the sitewide loader and the individual unit code separate in your notes. Give each unit a practical name, like `homepage-leaderboard` or `article-inline-1`. That little bit of organization pays off later, when you need to replace a network, troubleshoot a blank placement, or compare performance between positions.
Check whether the code is JavaScript or an iframe
JavaScript tags give an ad network more room to select, refresh, and measure creative. They can also clash with optimization tools, content security policies, or other scripts if they’re set up wrong. Iframe tags tend to be more isolated, but they usually give you fewer layout and styling options.
Neither format is automatically better. Follow what the network requires, then test the tag under real conditions. What you want to know is whether it serves reliably while the page layout stays stable and load time stays reasonable.
Choose a WordPress-native placement method
You can technically paste code into a theme file, a Custom HTML block, a widget area, or a code-snippet tool. The best choice depends on how often the placement changes and who’s managing the site. For a short, one-off sponsorship, a Custom HTML block might be all you need. But for recurring inventory across posts, archives, and multiple client sites, hard-coding tags into templates just creates maintenance work you don’t need.
A WordPress ad management plugin gives you a workflow that holds up over time. You can store network creative in one place and assign it to named ad groups. From there you can schedule it, rotate it with other campaigns, and place it with blocks, widgets, shortcodes, or theme-level controls. We built AdSanity for exactly this, so publishers can manage third-party network code and self-hosted ads from the same WordPress dashboard.
The real payoff is control. Your editorial team can update a campaign without ever opening a template file, and your developers still decide placement conditions and styling. And if a network changes its tag, you update the creative once instead of hunting through posts and theme files.
Configure ad network code without duplicate loading
The most common mistake I see is loading the same network bootstrap script more than once. It usually happens when a publisher puts the global script in the header and then also pastes it into every ad unit the network supplied. The result can be duplicate auctions, console errors, blank units, or a slower page (sometimes all of the above).
Use the network’s global script once, in the spot the network specifies. Then add only the placement-specific markup where each unit should show up. If your ad management tool treats the network’s code as one creative, check whether it expects the full tag or just the unit portion. The network’s documentation and a quick test on a staging site should settle that before the code ever reaches production.
Watch your caching and script-delay features, too. Performance plugins may defer JavaScript, combine files, strip attributes, or hold scripts back until someone interacts with the page. Those settings can help some pages, but ad code often depends on a precise loading order. A delayed tag might miss an auction window or leave an empty area above the fold.
Test one change at a time. First, confirm the ad renders with no optimization turned on. Then enable your caching or script optimization settings and check again. If you need an exclusion, exclude the specific network script instead of turning off performance features across the whole site.
Match each placement to its layout
A tag can be technically valid and still make the page look broken. Before you publish an ad unit, reserve enough space for its expected dimensions. A 300 by 250 unit dropped into a narrow mobile column can overflow its container. And a responsive placement without a minimum height can shove content down after the page has already appeared.
I like to start from your theme’s existing content widths. Desktop leaderboard units belong in containers that can actually fit them. In-content units should go where readers naturally pause, not between a heading and the paragraph that explains it. Sidebar sizes need a mobile fallback, because a lot of WordPress themes move or hide sidebars on smaller screens.
For responsive units, check the network’s supported sizes and breakpoints. Don’t force an ad into a dimension the network didn’t authorize. You can end up with clipping, policy issues, or a low-fill placement that looks like a technical failure.
Keep labels and spacing honest
Ads should look clearly separate from your editorial content. Use clear labeling where it makes sense and keep your spacing consistent. Please don’t style a paid placement to look like a related article or a navigation item. Being upfront protects reader trust, and it helps you meet the usual network and disclosure expectations.
It also makes the site easier to manage. When placements have predictable wrappers, CSS classes, and labels, a developer can adjust spacing or hide an empty slot without rewriting the campaign code underneath.
Account for privacy, consent, and policy requirements
Ad network code may set cookies, access device identifiers, or request personalized advertising. What you’re on the hook for depends on your audience, the network’s terms, and the privacy laws that apply to you. A consent management platform may need to stop certain tags from firing until a visitor gives permission.
Don’t assume a banner by itself controls your ad scripts correctly. Test the consent states in a private browser window. Check what loads before consent, what loads after consent, and what loads after a visitor declines optional tracking. If the network offers non-personalized ads or a restricted-data mode, make sure you know when it should kick in.
I’d also review the network’s content policies. Prohibited placements, accidental-click risks, invalid traffic rules, and auto-refresh limits vary from one provider to the next. A strong WordPress setup won’t override those rules. What it does is give you a cleaner way to enforce them consistently.
Test the code like a publisher, not just a site administrator
Seeing an ad once in your logged-in browser isn’t enough. Logged-in sessions may get different caching behavior, browser extensions may block requests, and network fill can change with location, device, and time of day.
Check each configured unit on desktop and mobile in a private window with ad blockers turned off. Make sure the slot shows up where you meant it to, doesn’t overlap content, and doesn’t cause visible layout shift. Open your browser’s developer tools if you need to. Look for JavaScript errors, blocked requests, mixed-content warnings, or duplicate network calls.
Then compare the network dashboard with your WordPress-side reporting. Impression totals won’t always match exactly, because different systems count events differently. But a dramatic gap is worth digging into. The usual suspects are an ad hidden by CSS, a tag firing twice, an empty placement still holding space, or an ad group that’s scheduled wrong.
Build a fallback plan for empty or paused inventory
Network inventory isn’t guaranteed. Fill rates change, campaigns pause, and third-party systems sometimes just fail. So decide ahead of time what should happen when a placement has no eligible network ad. You might show a direct-sold sponsor or a house promotion. You could also run an affiliate creative that meets your disclosure standards… or show nothing at all.
The right answer depends on the placement. On a high-traffic homepage, a fallback can protect revenue. In the middle of a carefully structured article, an empty space might be less disruptive than a low-value promotion. What matters is making that call on purpose instead of letting an empty container hang around forever.
I think of every network tag as one piece of a campaign. It shouldn’t be permanent code glued to your site. When you manage placements, schedules, consent rules, and fallbacks with care, you can switch monetization partners without rebuilding your WordPress publishing workflow.

Written by
Prêt à commencer ?
Time to take control of your ads.
Find your perfect plan and go for it.



Our Community
Join our mailing list to keep up to date on everything happening with AdSanity and Pixel Jar.
Note: Your email address will be added to our CRM and be used to receive emails from Pixel Jar. You can unsubscribe at any time.
Our Partners

Ready to Make Money With Your Site?
Get ads on your site in
60 minutes or less
with AdSanity.
With our 14-day money back guarantee, it’s easy to see if AdSanity is the right fit for you.

