Creating an HTML5 has just become a lot easier. Create your HTML5 in your favorite editor and save all of the components of that ad into a zip file.
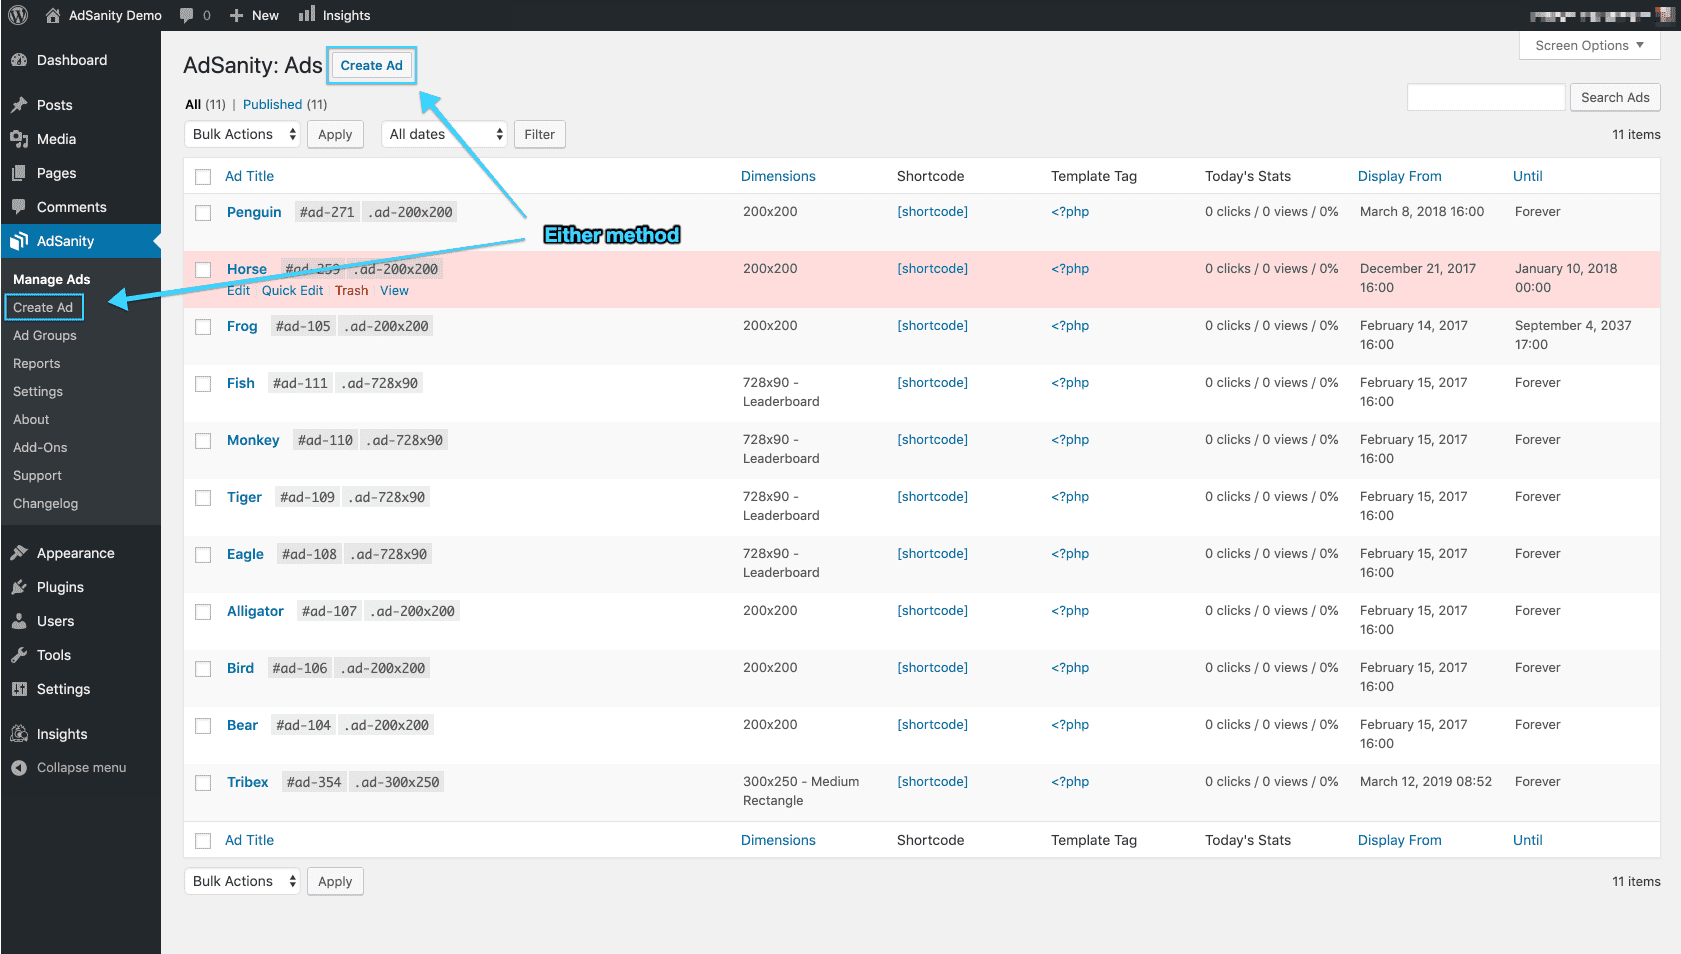
Then navigate to the AdSanity section of your dashboard and select “Create Ad” (fig. 1). You’ll then be presented with a tabbed page that allows the choice between an Ad Hosted On-Site, an External Ad Network, and HTML5. You’ll choose HTML5 (fig. 2).
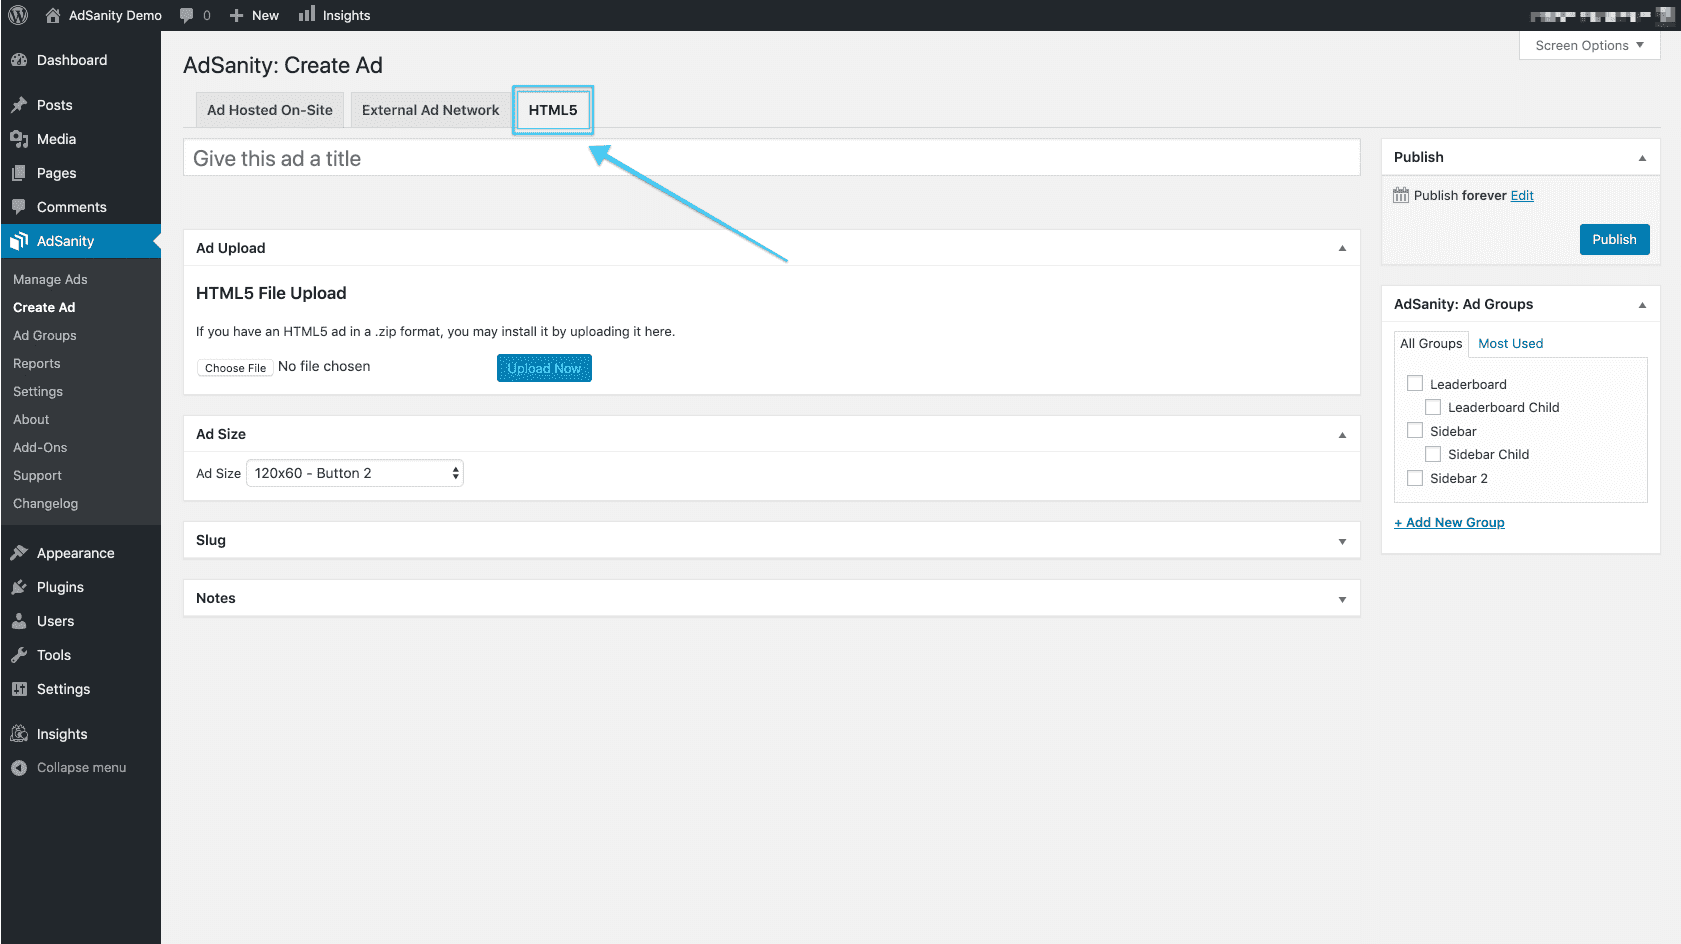
Next choose a title for the ad. Then, set the correct ad size for the ad you are creating. The Responsive ad sizes really shine for HTML5 ads and are the recommnded sizes to choose from. You can enter a specific slug for the ad if you need to and make any notes that are necessary for the ad. Set the publish start and end dates (or set the ad to run forever). Next, you can set an Ad Group for the ad if you’ve created a group.
Note that HTML5 ads do not have their clicks and views tracked in AdSanity unless you are using the Google Analytics Tracking Integration Add-On.
Didn’t find what you were looking for?
If you’re a subscriber to AdSanity and don’t find an answer to your specific question please submit a request and our support department will address your issue quickly.
