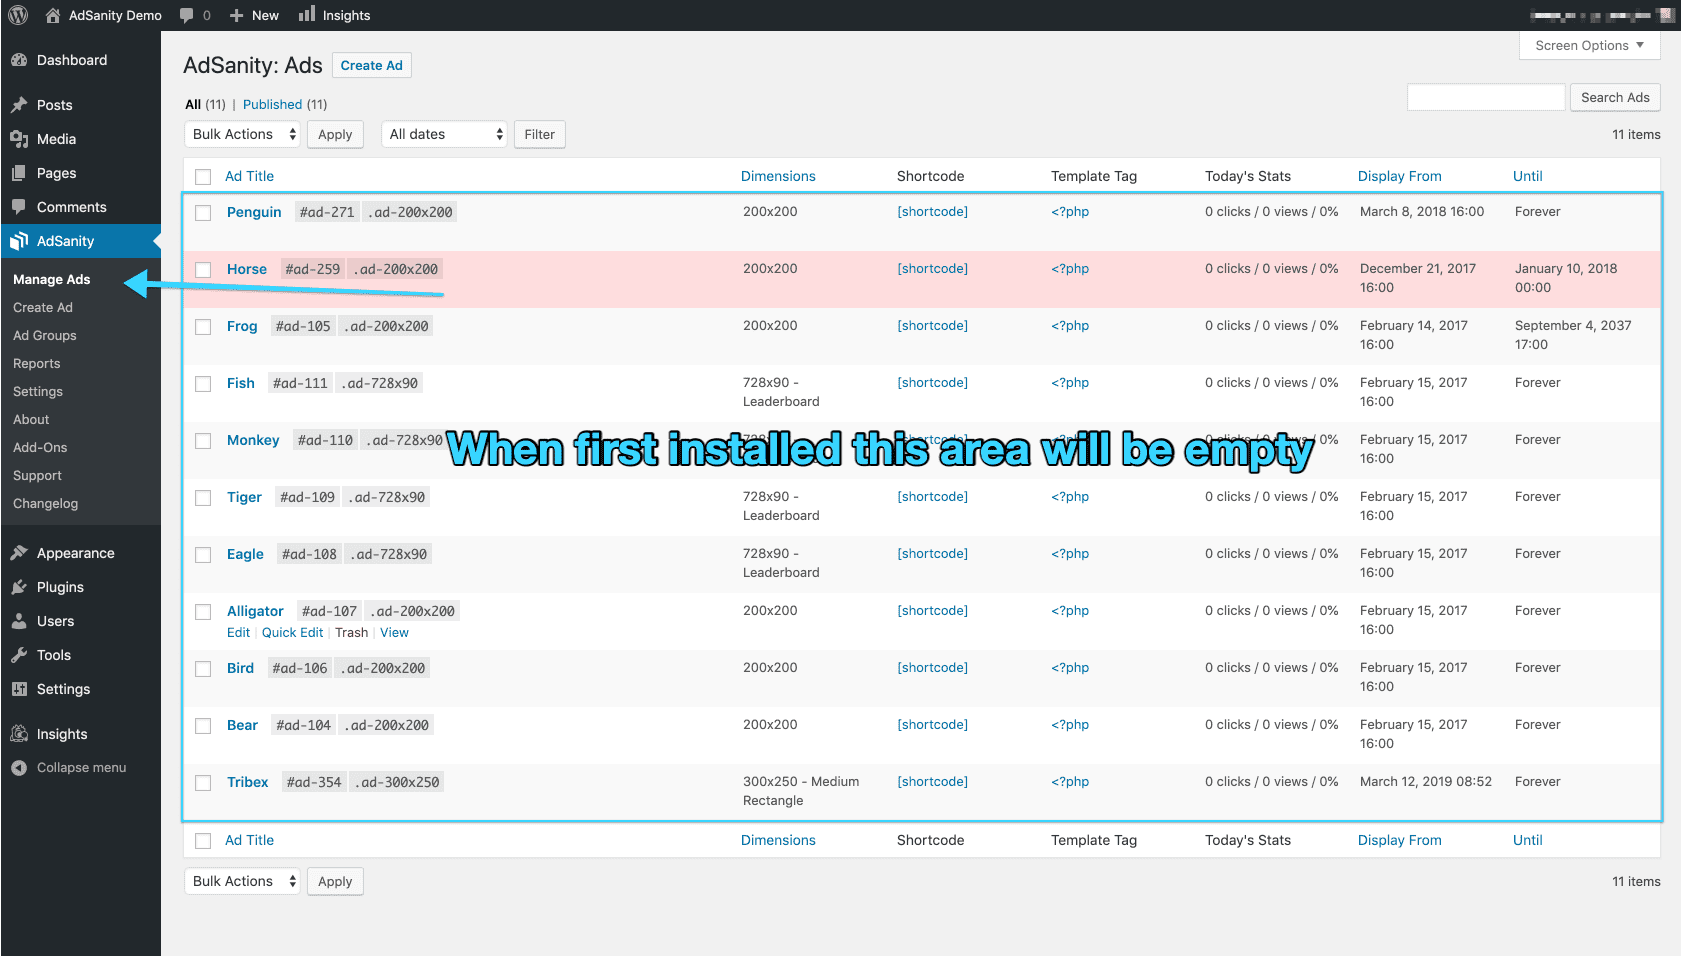
Now that you have the AdSanity section displayed on your dashboard you’ll notice that the first entry is Manage Ads. Similar to how your posts or other custom post types are displayed, Manage Ads allows you to see a listed overview of all of your advertisements. If you’re just starting out with AdSanity you’ll see that this area is empty but you do have the opportunity to click “Create Ad” and get started creating your first advertisement (fig. 1).

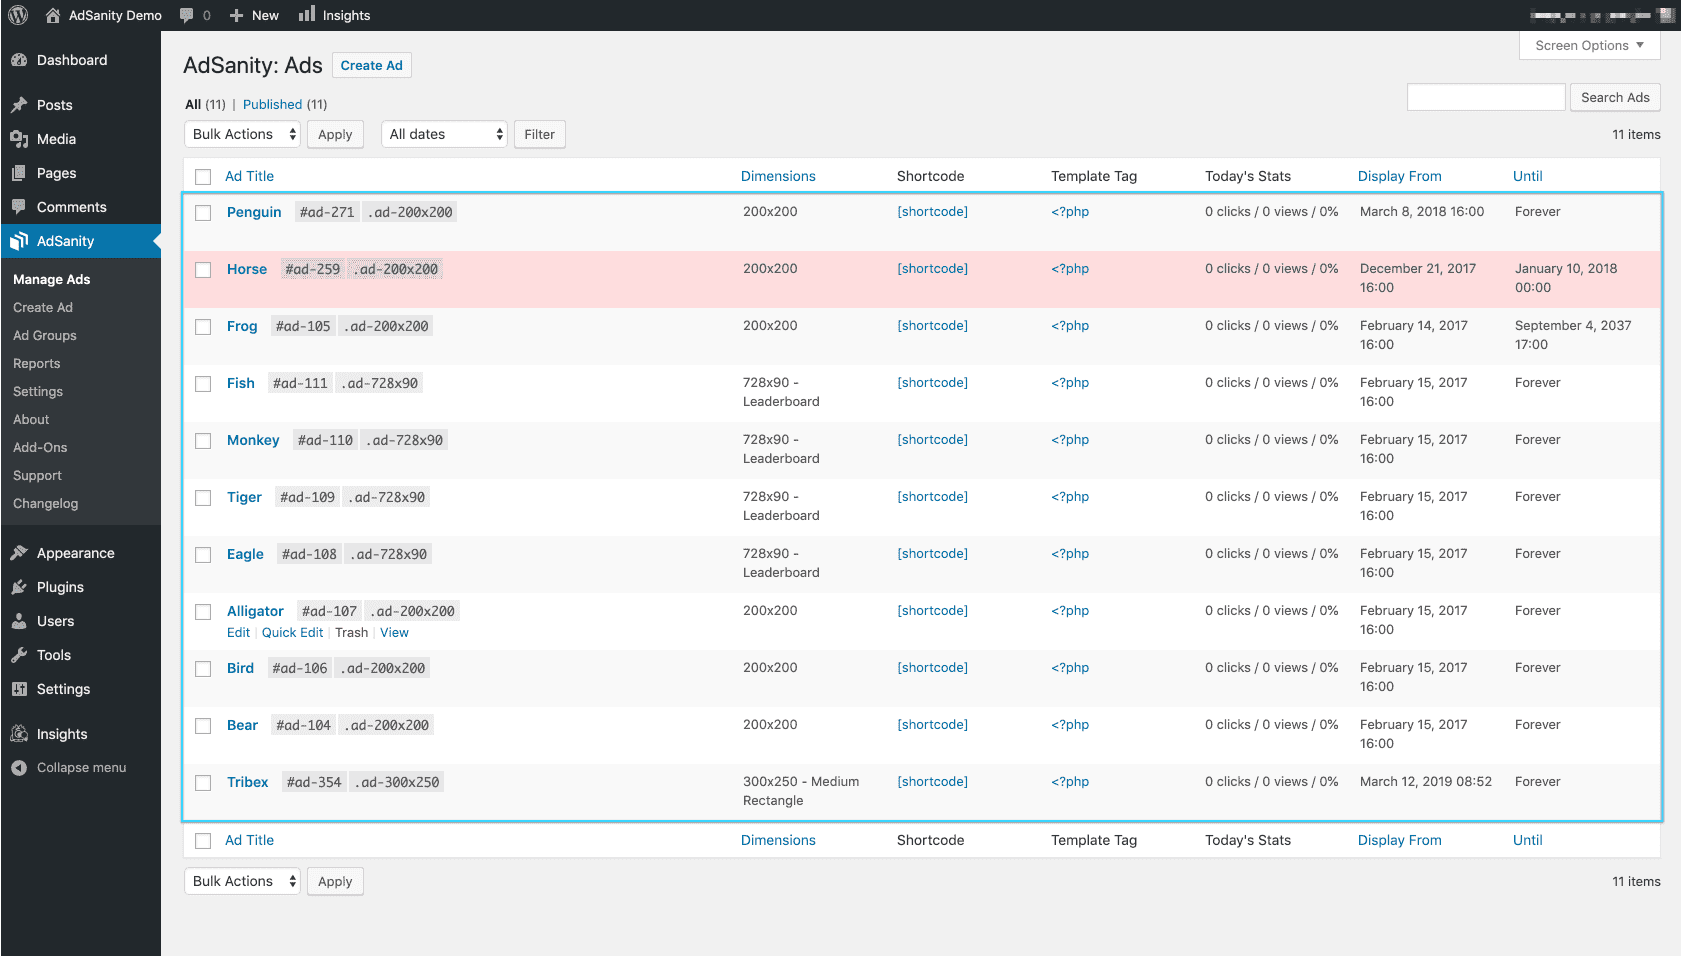
Once you’ve created an ad or two you’ll see that key information about your ads are displayed on the page. The title of the ad, dimensions of the ad, a clickable “shortcode” link of the shortcode for placing the advertisement, a clickable “<?php” link of the template tag for the advertisement, stats of the ad for the day, and the published dates (display from and until) for the ad are displayed across the columns (fig. 2).

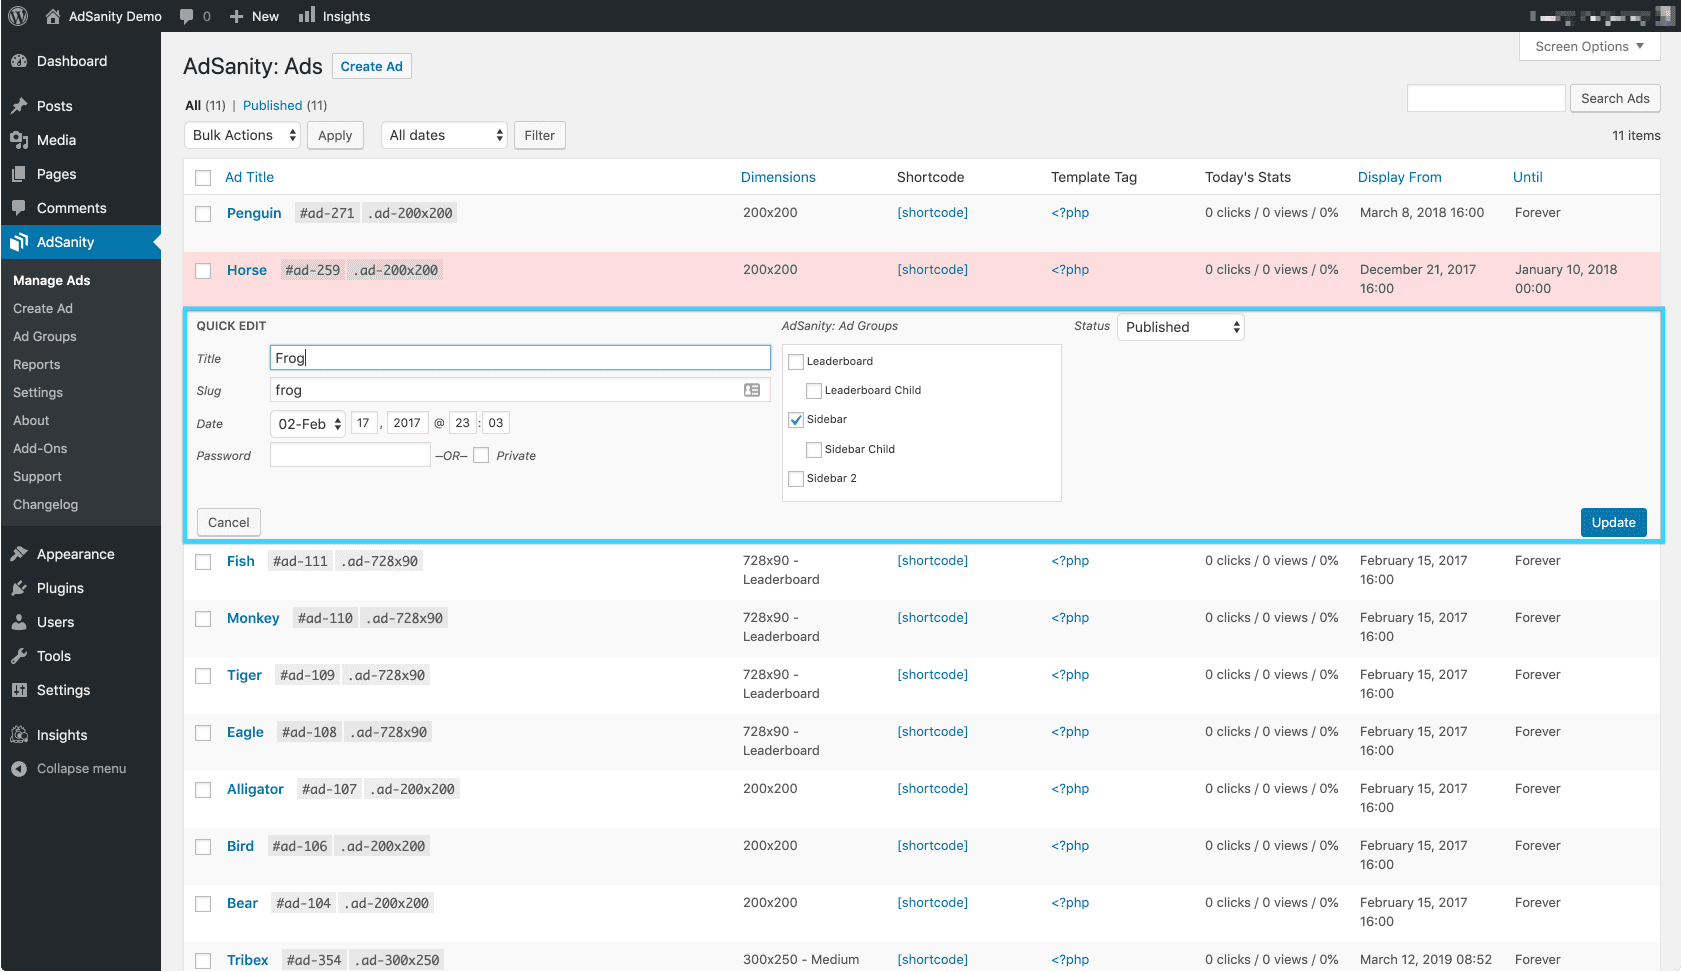
If the ad is edited using the “Quick Edit” feature then you can quickly choose or change the Ad Group for the ad; change the title, slug, or the publish state for the ad (fig. 3).

Didn’t find what you were looking for?
If you’re a subscriber to AdSanity and don’t find an answer to your specific question please submit a request and our support department will address your issue quickly.


