Many users prefer to add their plugins via FTP. FTP installation of AdSanity doesn’t differ from a normal FTP installation.
First, you’ll unzip the plugin that you downloaded from the AdSanity Plugin site. Be sure that the folder name is called “adsanity”. You’ll then connect to your website via FTP using the FTP client of your choice. The plugin folder should be uploaded to the plugins folder in the wp-content folder for your website.
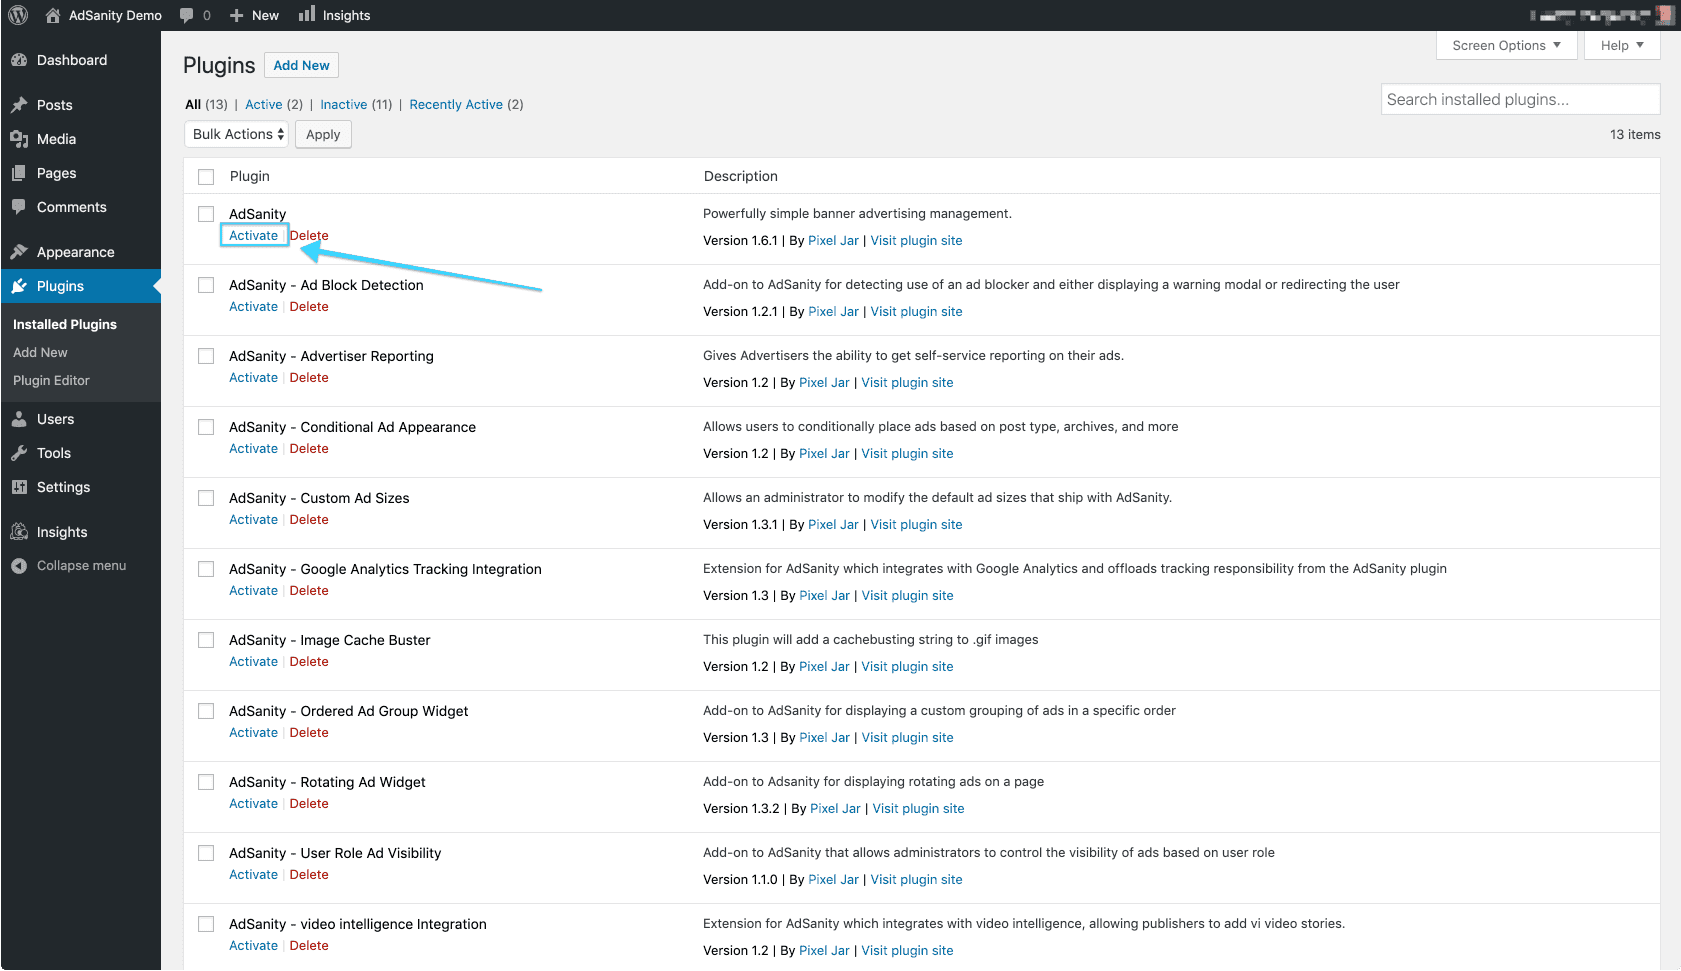
Once the plugin is installed you can return to your WordPress dashboard. Navigate to the Installed Plugins page. You should then click the “Activate” text beneath the AdSanity entry on the list of plugins to complete the installation. (fig. 1) After the plugin has been activated you will see an AdSanity section has been added to your dashboard and the plugin features are ready to use. (fig. 2)

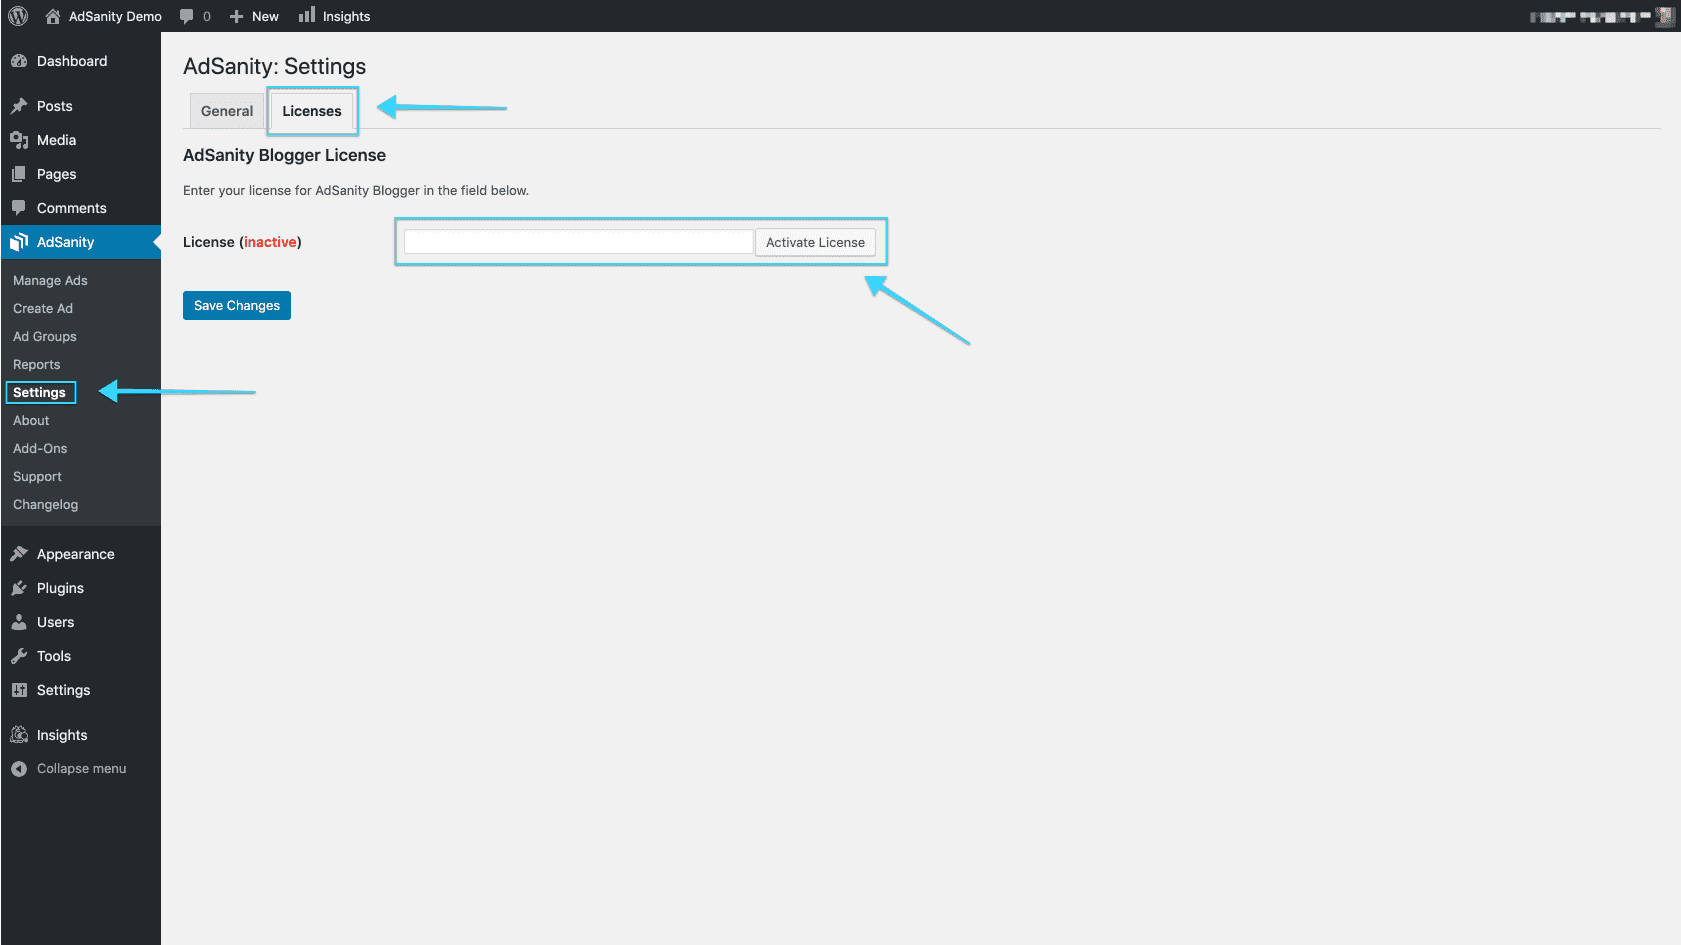
Comme dernière étape, naviguez vers l'onglet Licence sur la page Paramètres dans la section AdSanity du tableau de bord. Vous pouvez y saisir votre clé de licence. (fig. 3) Celle-ci vous a été envoyée par e-mail au moment de votre achat ou peut être trouvée sur la page de confirmation d'achat sur le site AdSanity.
Didn’t find what you were looking for?
If you’re a subscriber to AdSanity and don’t find an answer to your specific question please submit a request and our support department will address your issue quickly.
