Creating ads hosted on-site is a very fast process. You want to make sure that the artwork that your advertiser has created matches the size of the ad unit you are making an ad for. This artwork may be a JPG, PNG, or GIF file and should be available to load to your media library or to add to the specific ad while it’s being created.
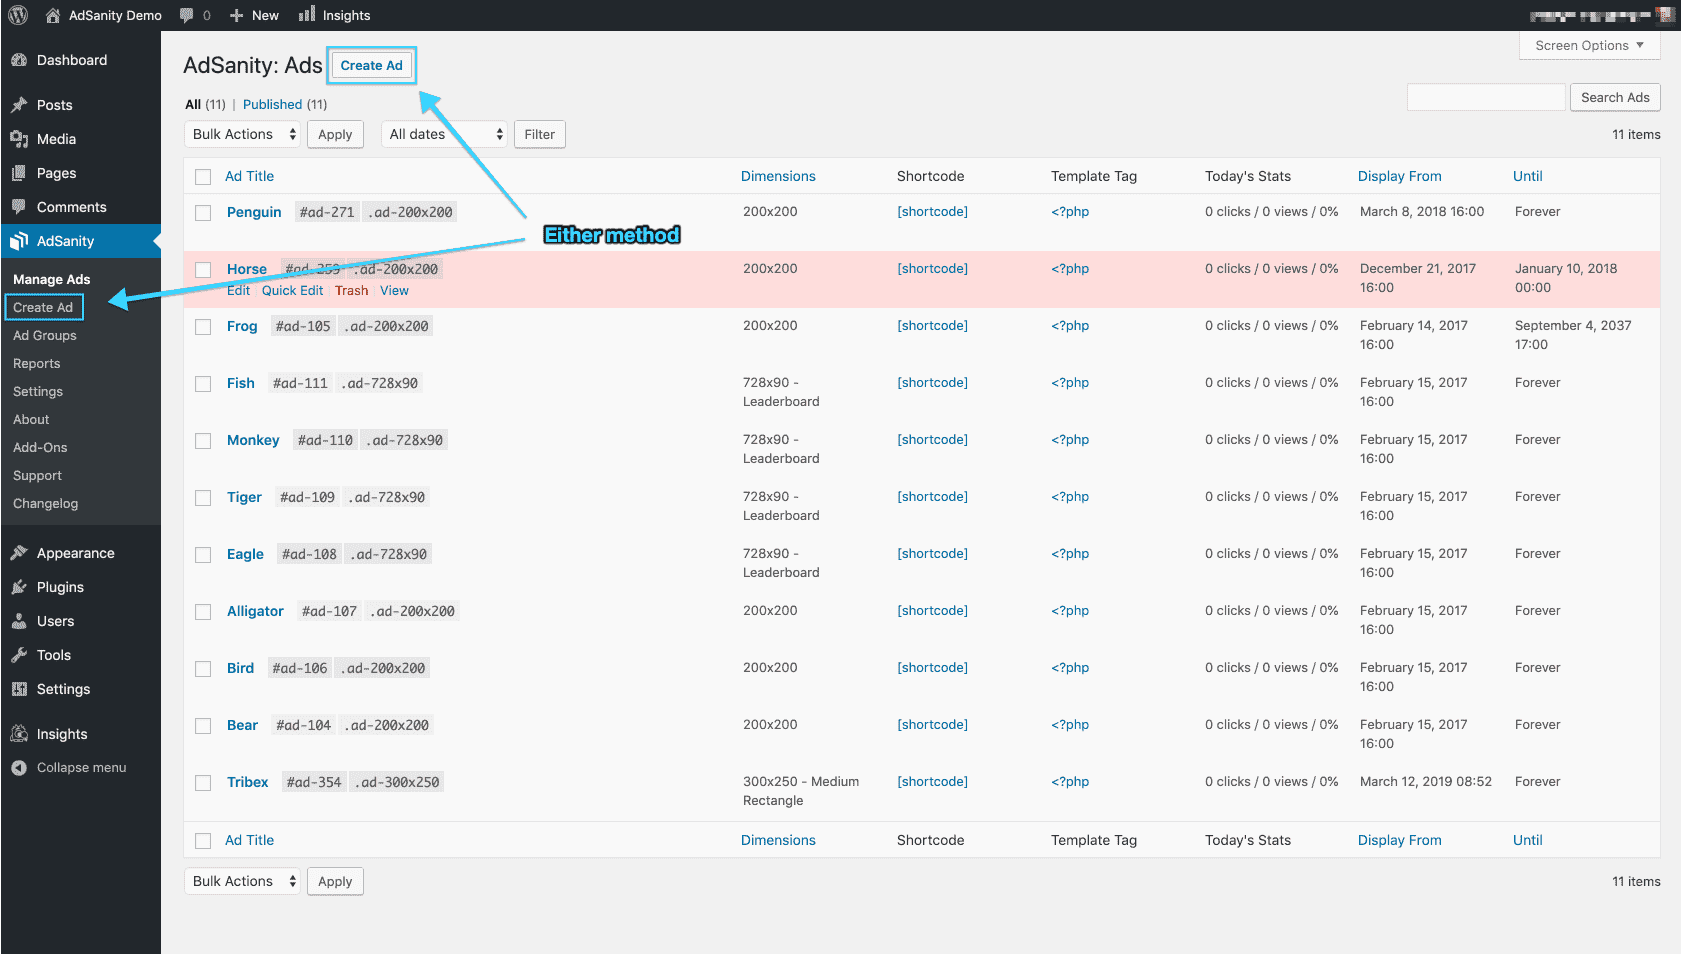
First navigate to the AdSanity section of your dashboard and select “Create Ad” (fig. 1). You’ll then be presented with a tabbed page that allows the choice between an Ad Hosted On-Site, an External Ad Network, and HTML5. You’ll choose an Ad Hosted On-Site which is the default for a new ad (fig. 2).
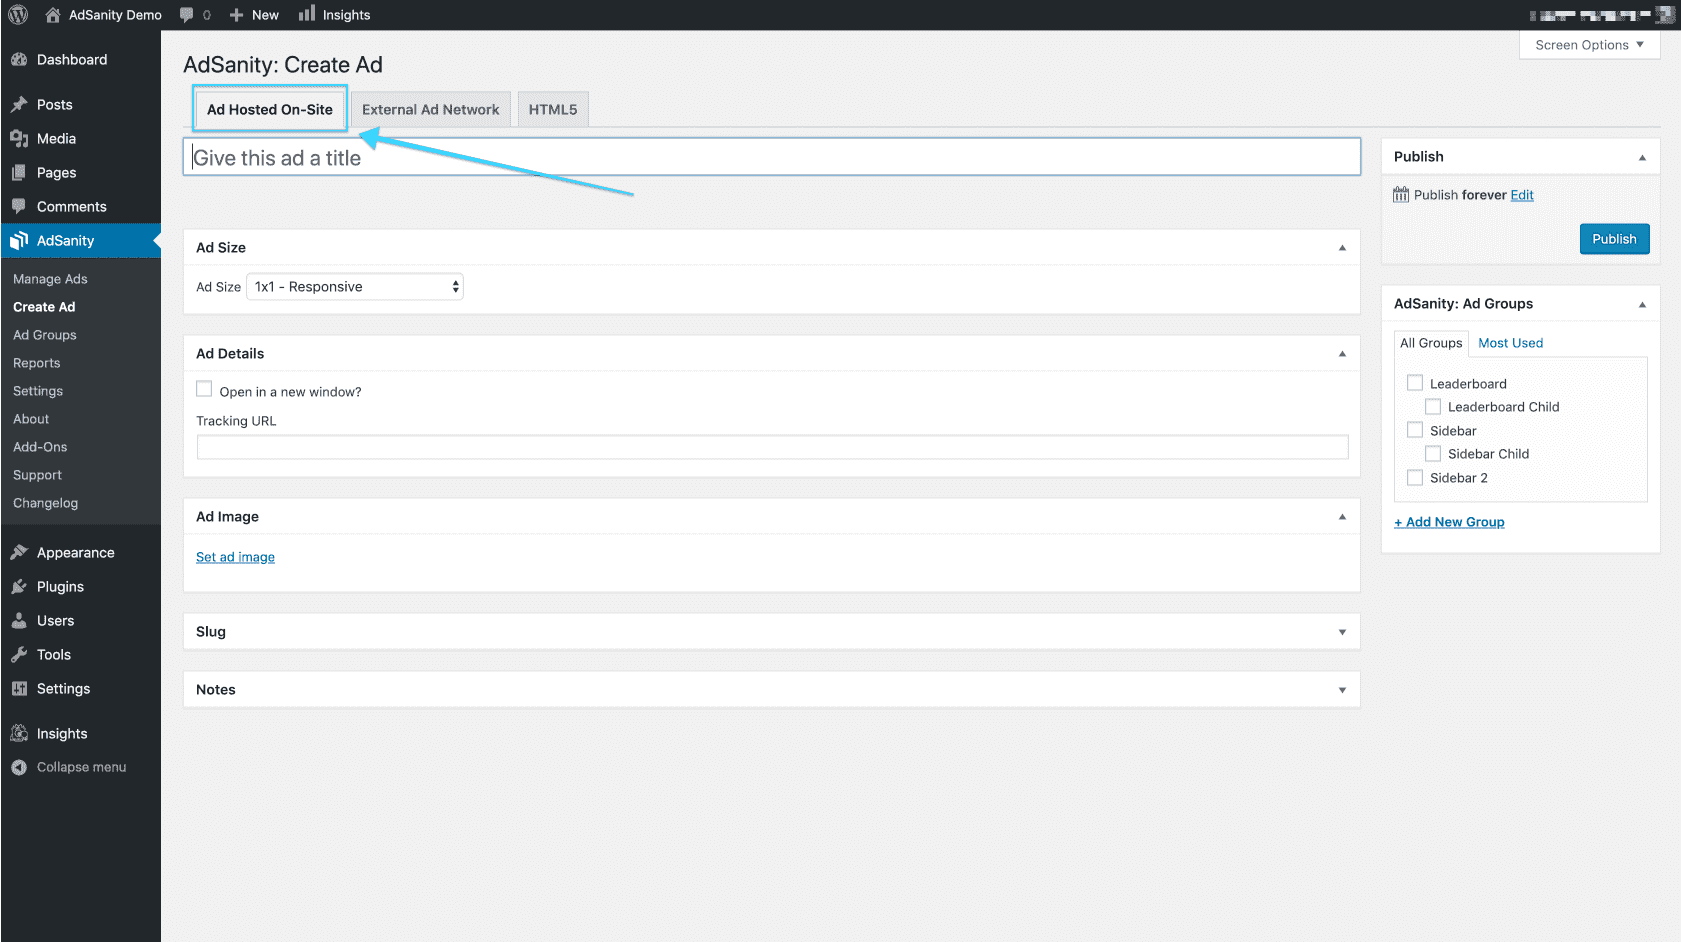
Next choose a title for the ad. Then, set the correct ad size for the ad you are creating. Upload the image for the advertisement by clicking on “Set ad image” and choosing the prepared ad. Paste in the URL for the destination of the advertisement. You can choose for this link to open in it’s own window by checking the box above the tracking URL. You can enter a specific slug for the ad if you need to and make any notes that are necessary for the ad.
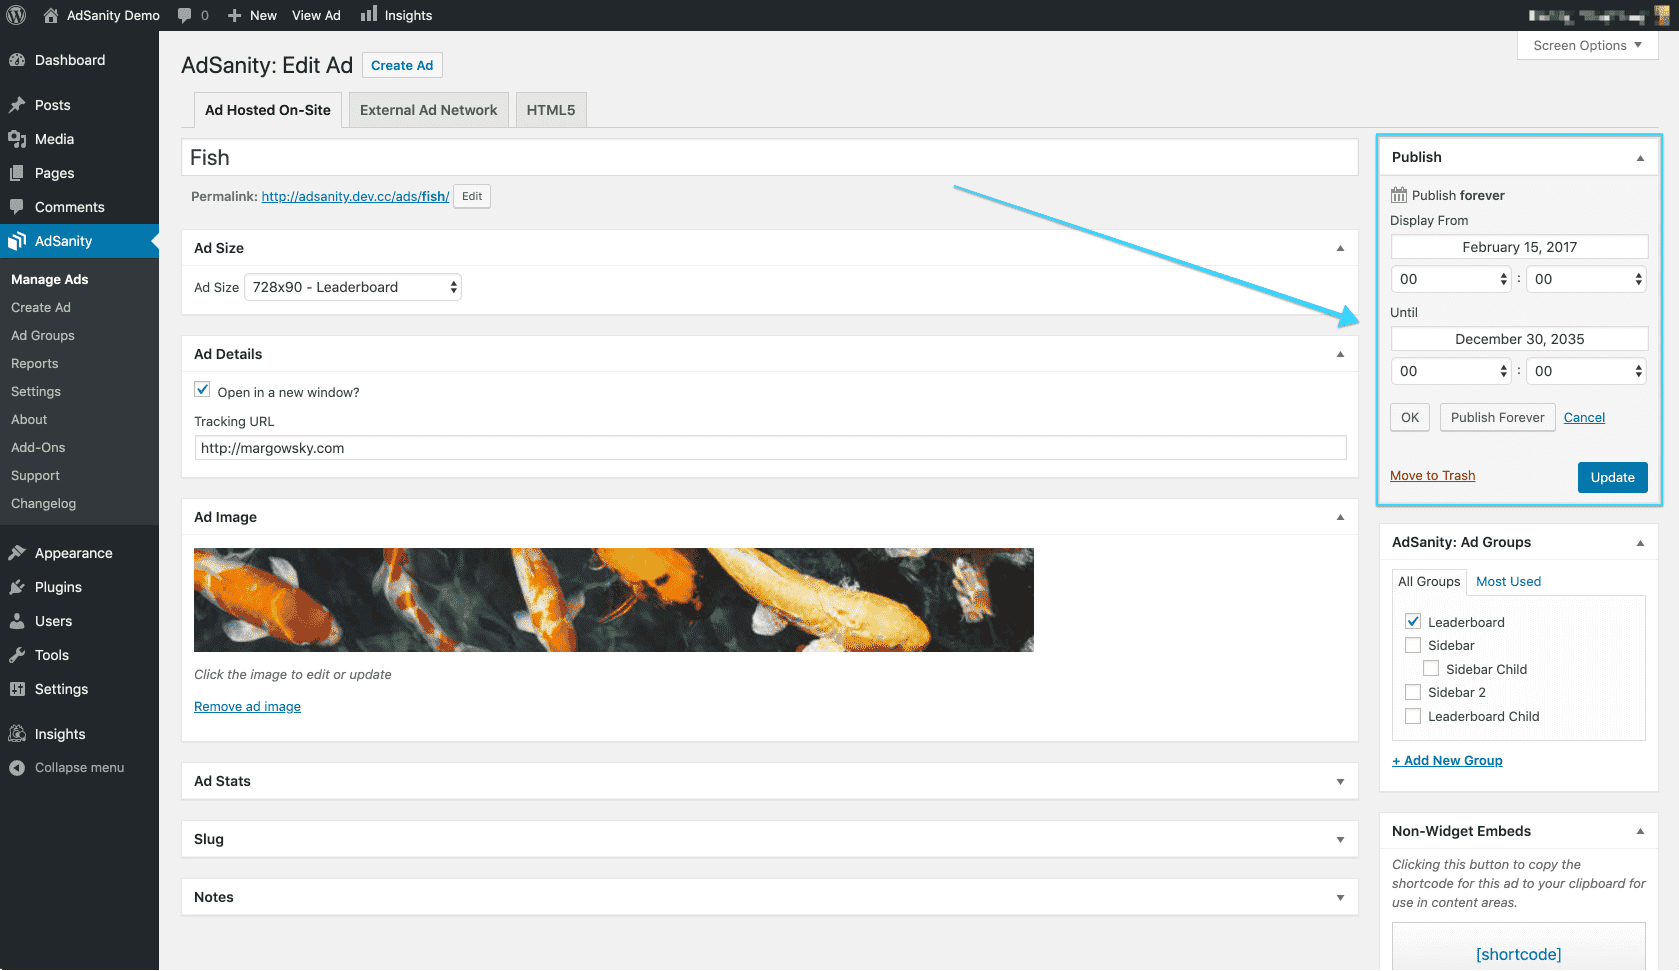
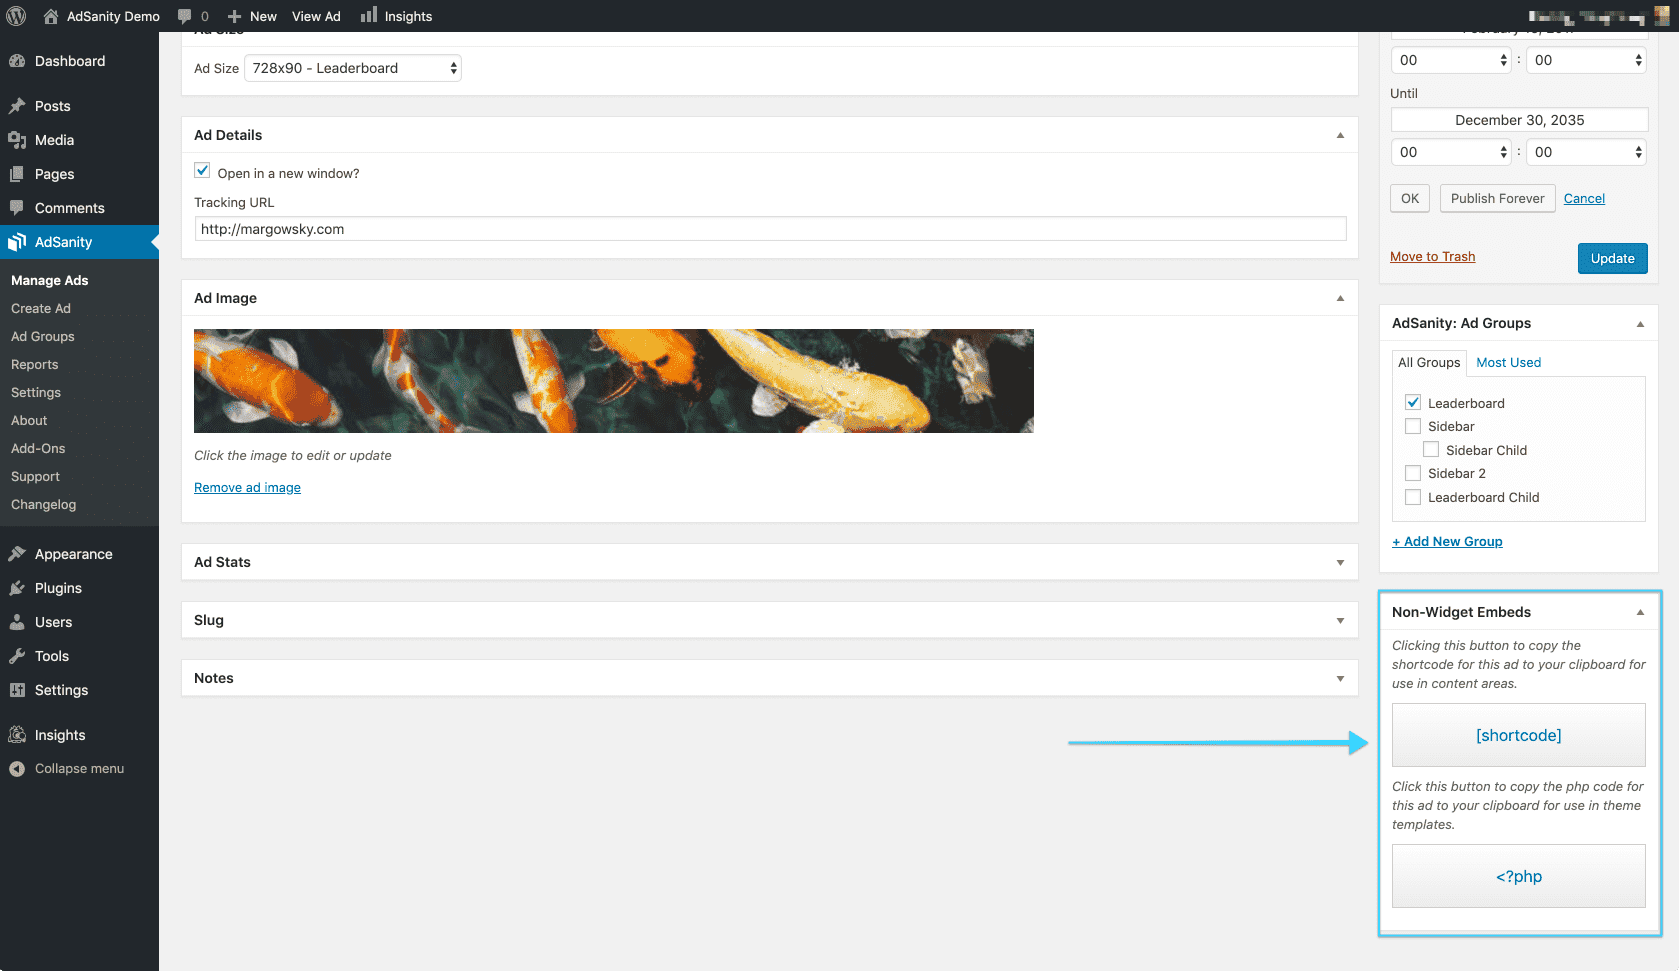
Set the publish start and end dates (or set the ad to run forever) (fig. 3). This feature allows you to choose to start and stop an ad at a specific time which can be very handy if you’re monetizing your ads based on time. Next, you can set an Ad Group for the ad if you’ve created a group. Finally, you can click links for the shortcode or template tag for a Non-Widget Embed (fig. 4).
Didn’t find what you were looking for?
If you’re a subscriber to AdSanity and don’t find an answer to your specific question please submit a request and our support department will address your issue quickly.
