Creating Ads
Guide Menu ×Downloading
Once you have completed your purchase of your AdSanity license you’ll receive an email confirming your purchase with a link to your account where you’ll be able to download the AdSanity plugin.
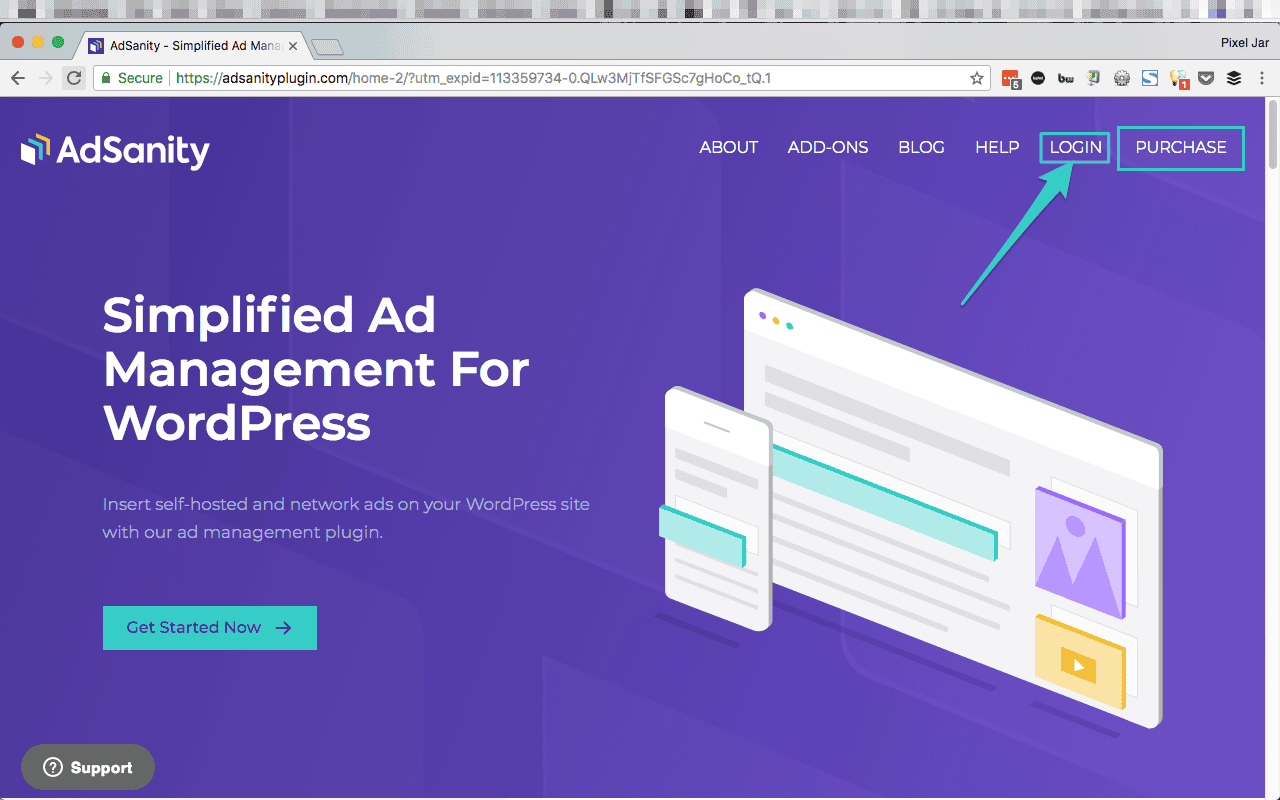
Should you misplace or delete that specific email you’re always able to log back into the AdSanity plugin site and download the latest version of AdSanity. The login for your account is located on the main menu of the website. (fig. 1)
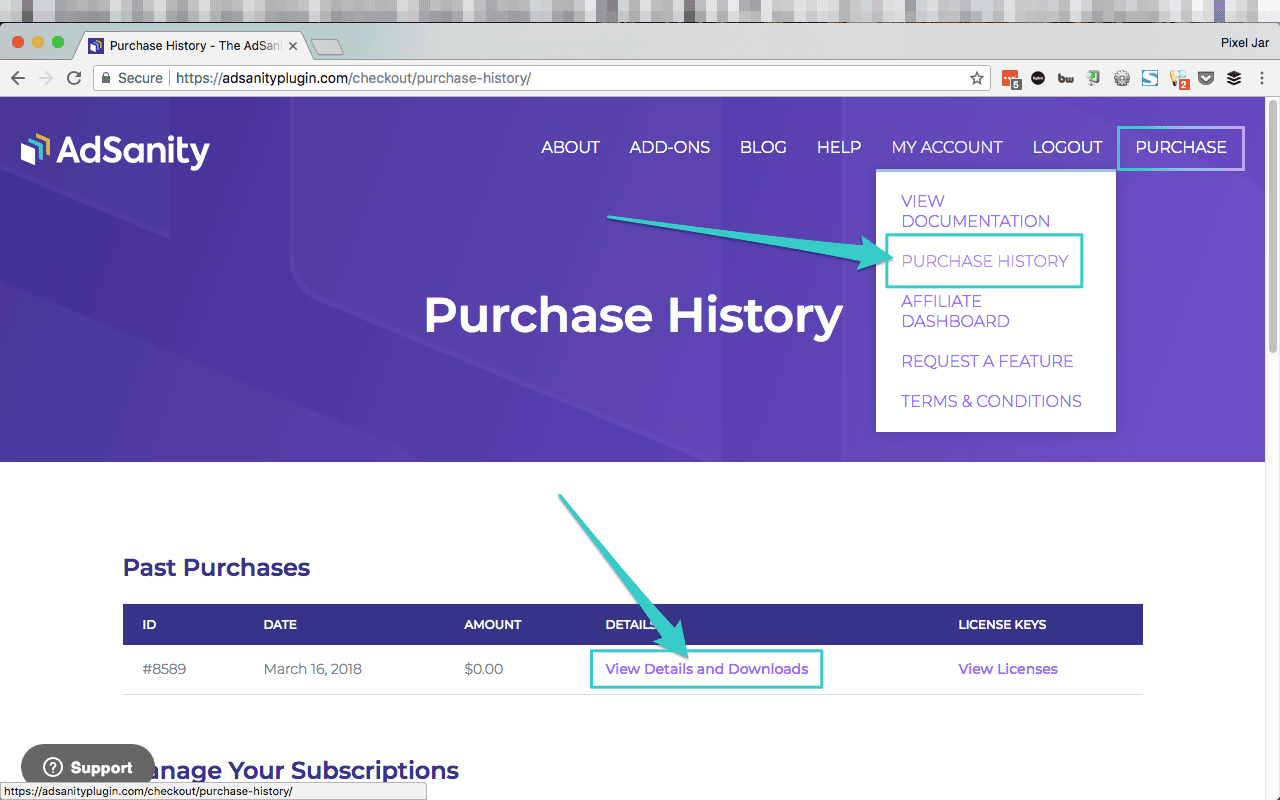
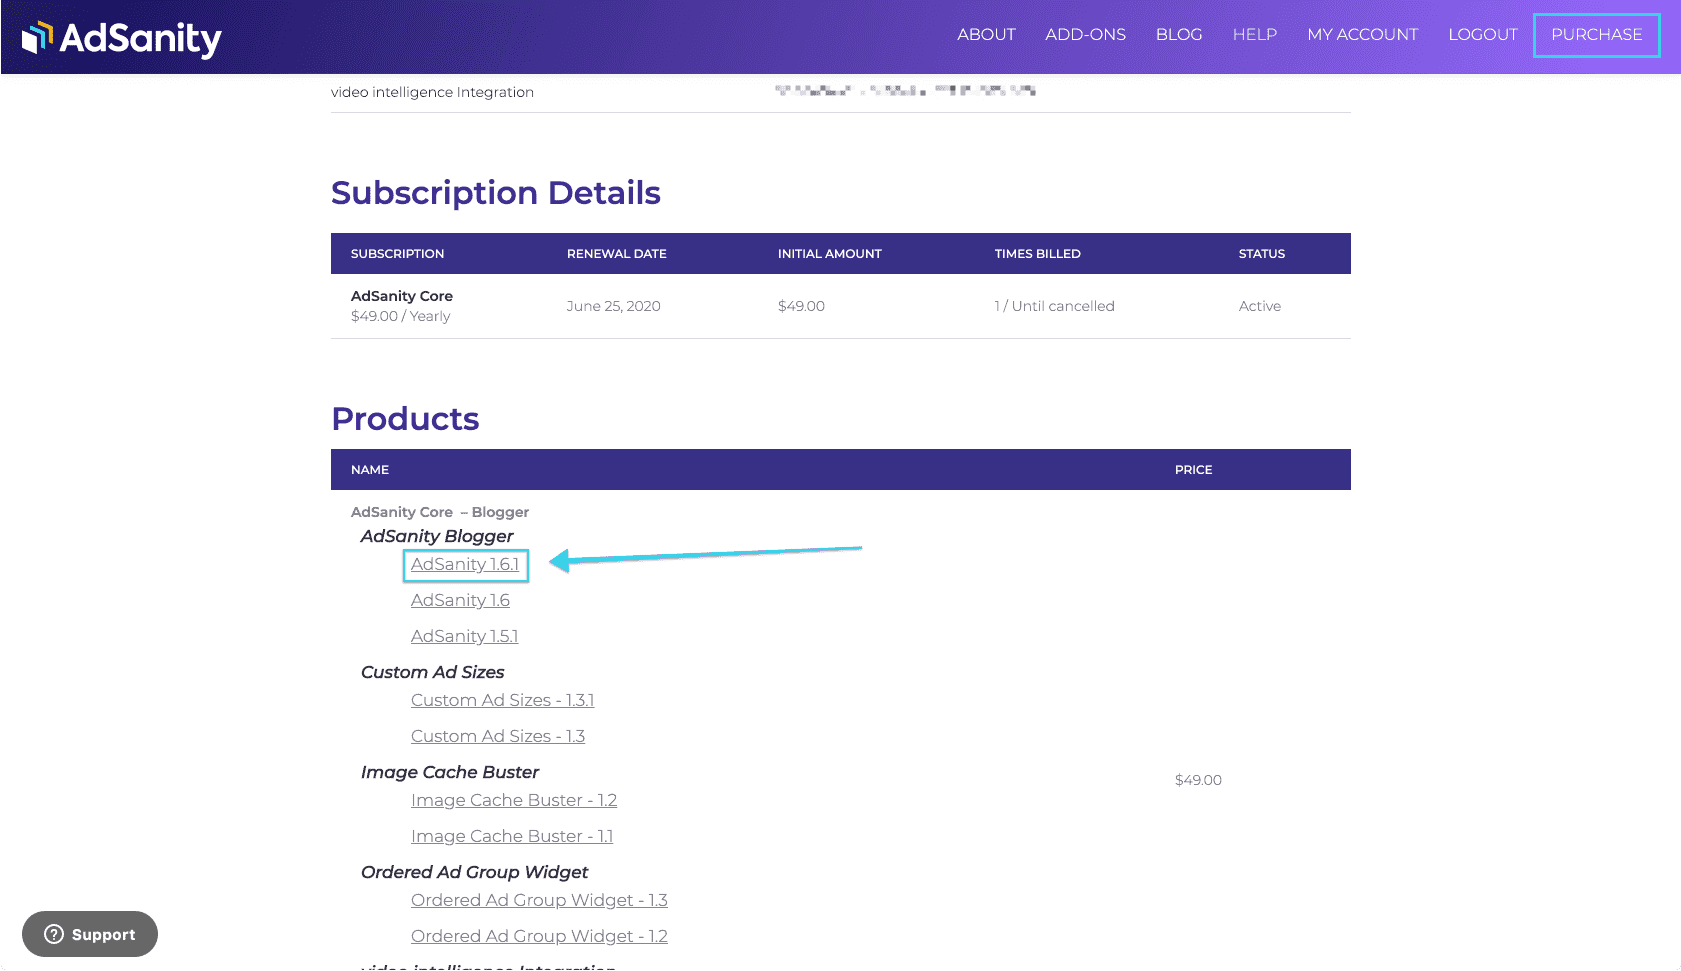
Once you’re logged in you should be viewing your Purchase History (fig. 2) and you can click on “View Details and Downloads” to click through to your Purchase Confirmation. On the Purchase Confirmation page (fig. 3) you can click the “AdSanity” link to start your download. Note that the AdSanity link (and in fact all download links) will include the version number of the download. You can also access any Basic or Pro Add-Ons that are associated with your account from this same location.
Installation
Once you have the plugin downloaded it’s very easy to install the plugin. There are two primary methods of installing the plugin.
You can install via the dashboard or you can install via FTP.
In addition, if you’re a developer you may be including your installed plugins in a repository for deployment to staging or production sites. There is nothing unique to the AdSanity installation that would prohibit this.
Dashboard
Installing AdSanity is no different than installing any other plugin from the dashboard.
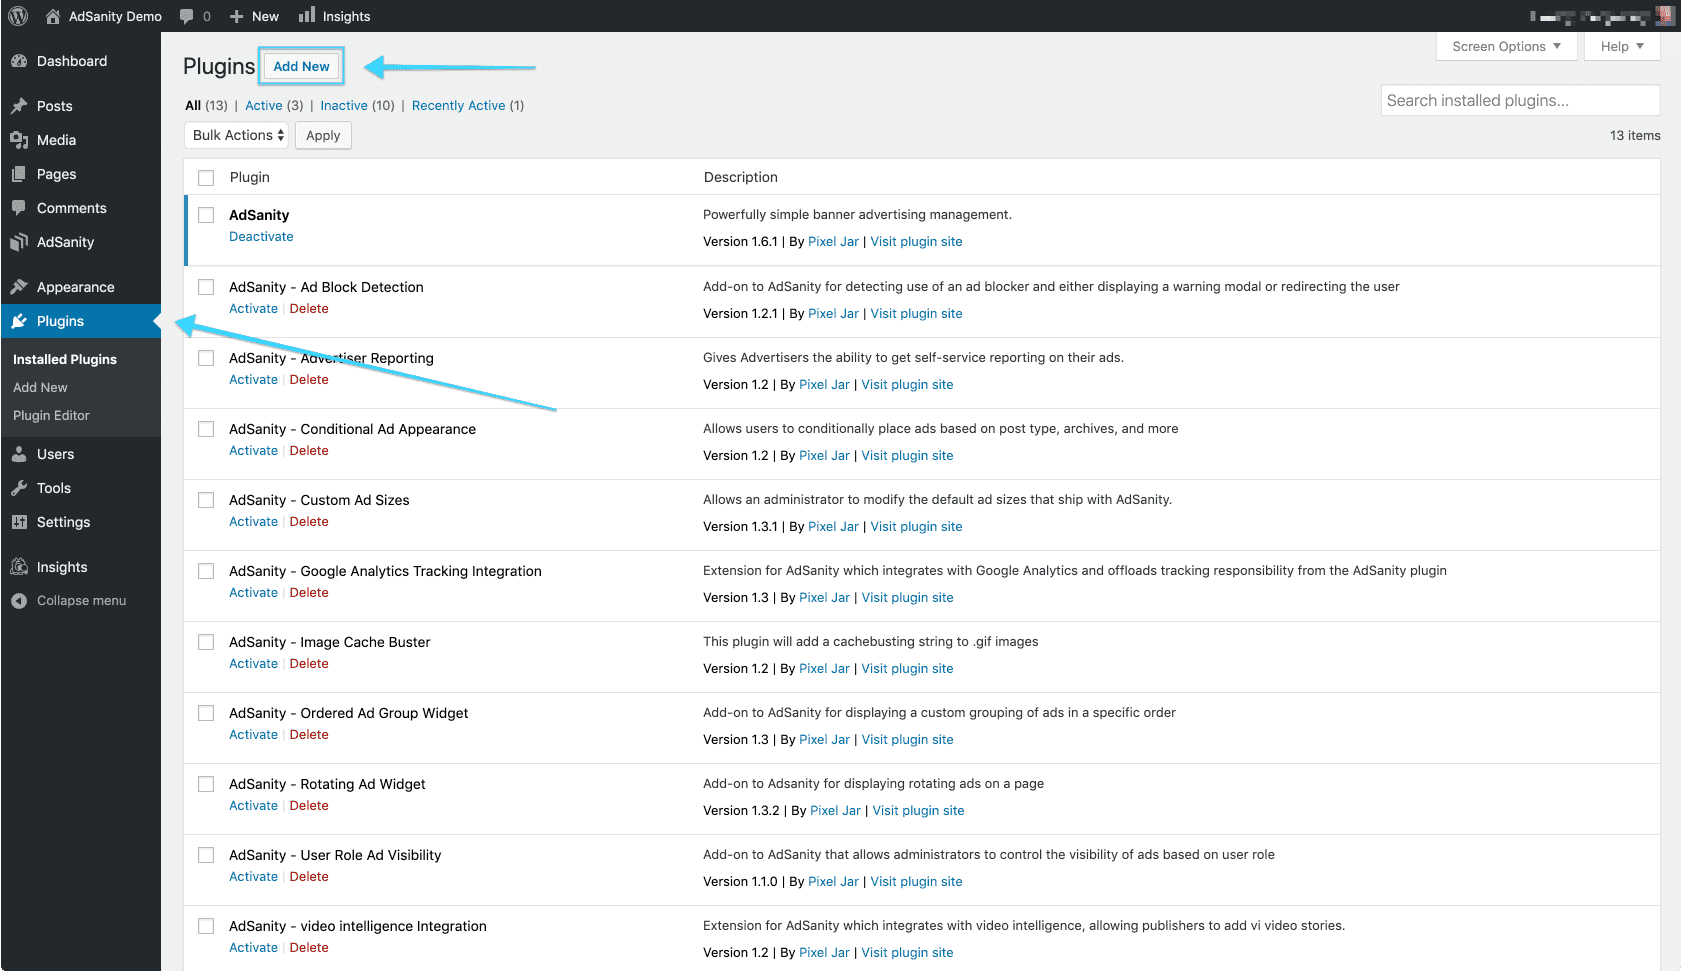
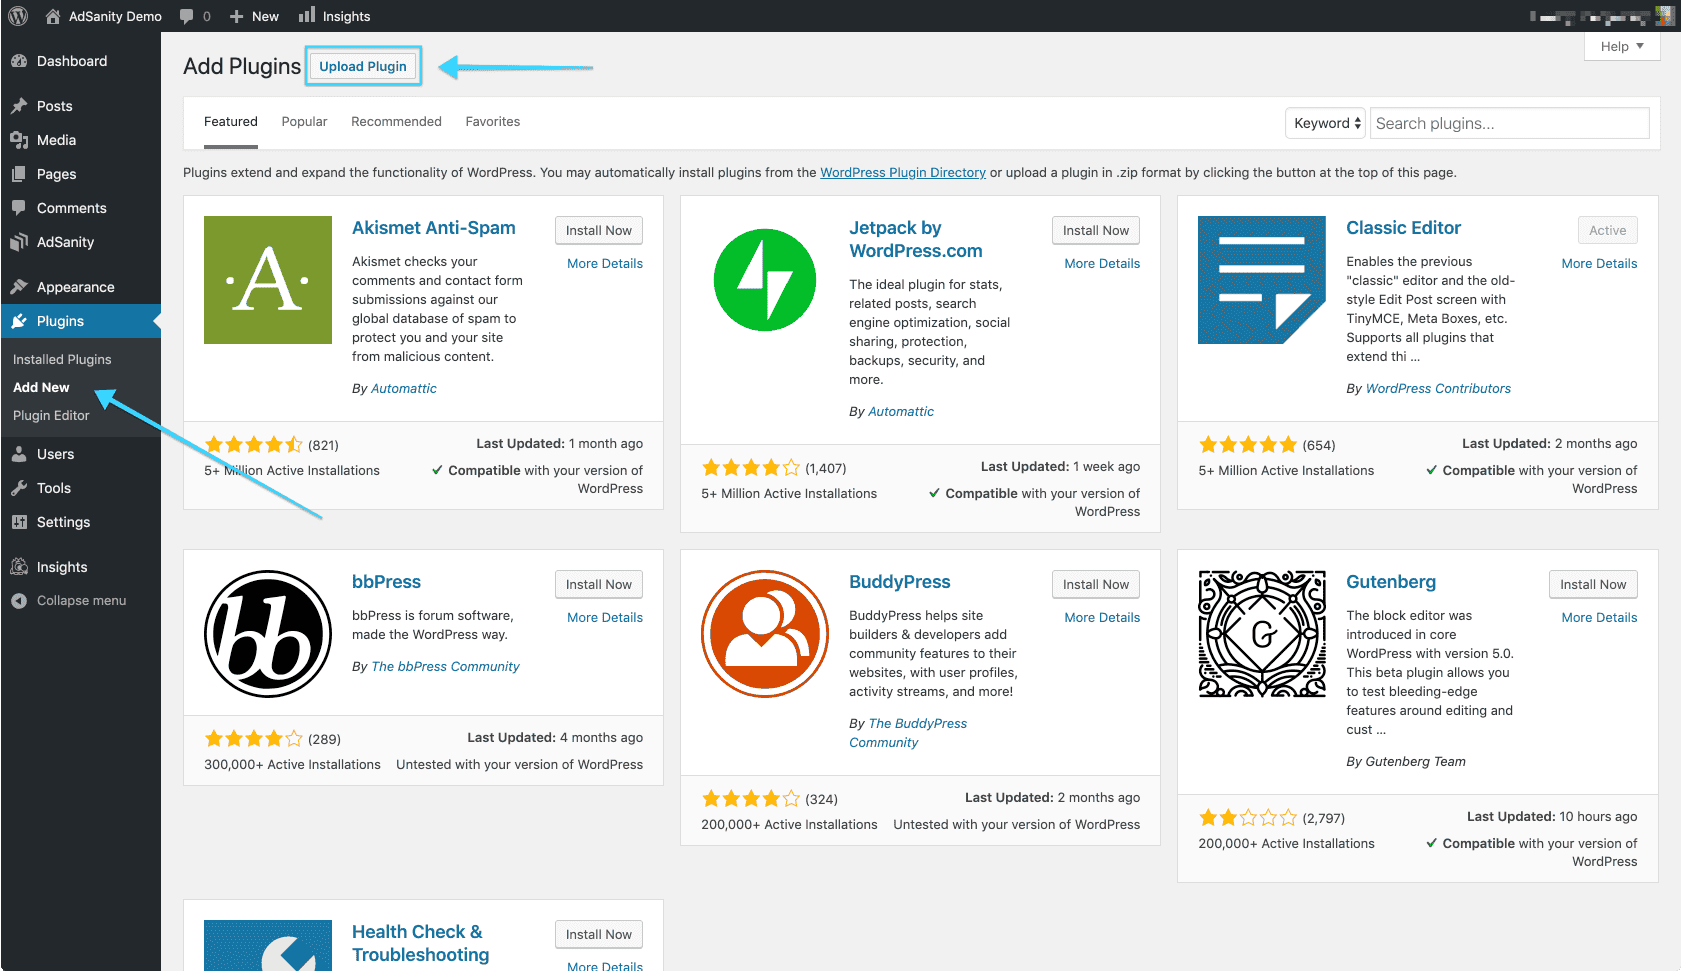
First, you’ll want to navigate to to the Plugins section of your dashboard. (fig. 1) From that page you’ll select “Add New” and then you will be sent to the Add Plugins page and you’ll see a listing of featured plugins. You’ll want to click on the “Upload Plugin” button at the top of the page. (fig. 2) You’ll then click “Choose File” and then to select the zip file that you downloaded from the AdSanity plugin site and click on “Install Now.”
Once the plugin is installed (which should be a relatively quick process) you’ll be directed to the Installing Plugin from uploaded file page which will indicate the file you’ve uploaded. You should then click the “Activate Plugin” button to complete the installation. (fig. 3) After the plugin has been activated you will see an AdSanity section has been added to your dashboard and the plugin features are ready to use. (fig. 4)


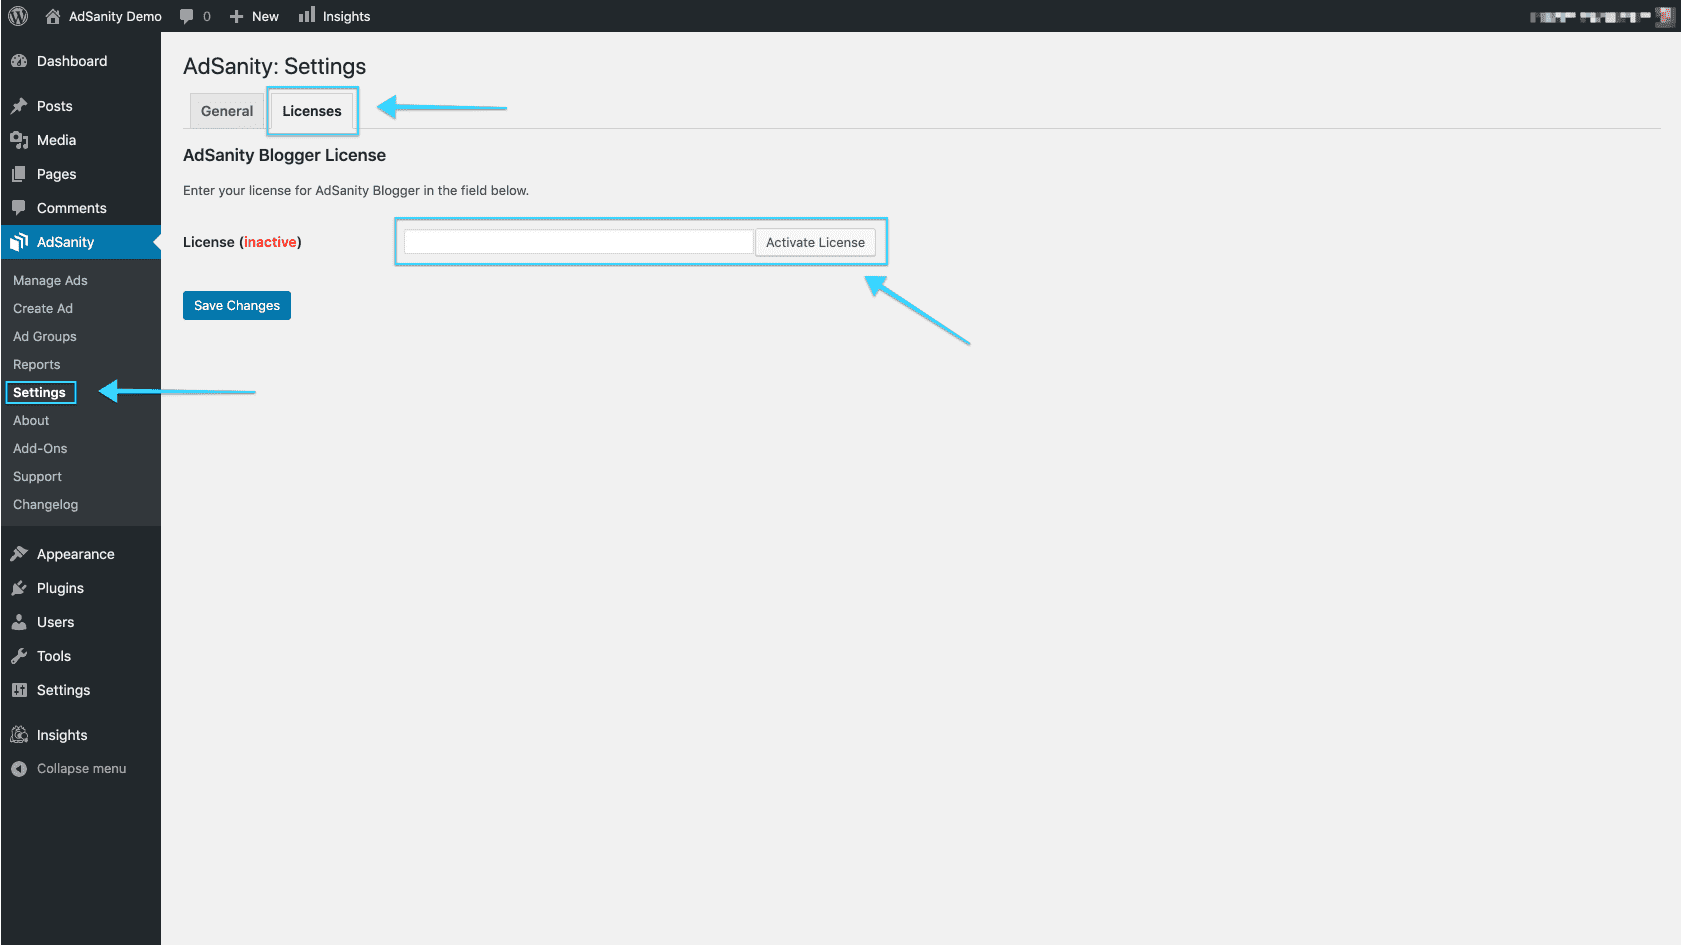
As a final step, navigate to the Settings page in the AdSanity section of the dashboard. Here you can enter your license key under the Licenses tab of the page. (fig. 5) This license was emailed to you at the time of your purchase or you can locate it on the Purchase Confirmation page on the AdSanity site.
FTP Installation
Many users prefer to add their plugins via FTP. FTP installation of AdSanity doesn’t differ from a normal FTP installation.
First, you’ll unzip the plugin that you downloaded from the AdSanity Plugin site. Be sure that the folder name is called “adsanity”. You’ll then connect to your website via FTP using the FTP client of your choice. The plugin folder should be uploaded to the plugins folder in the wp-content folder for your website.
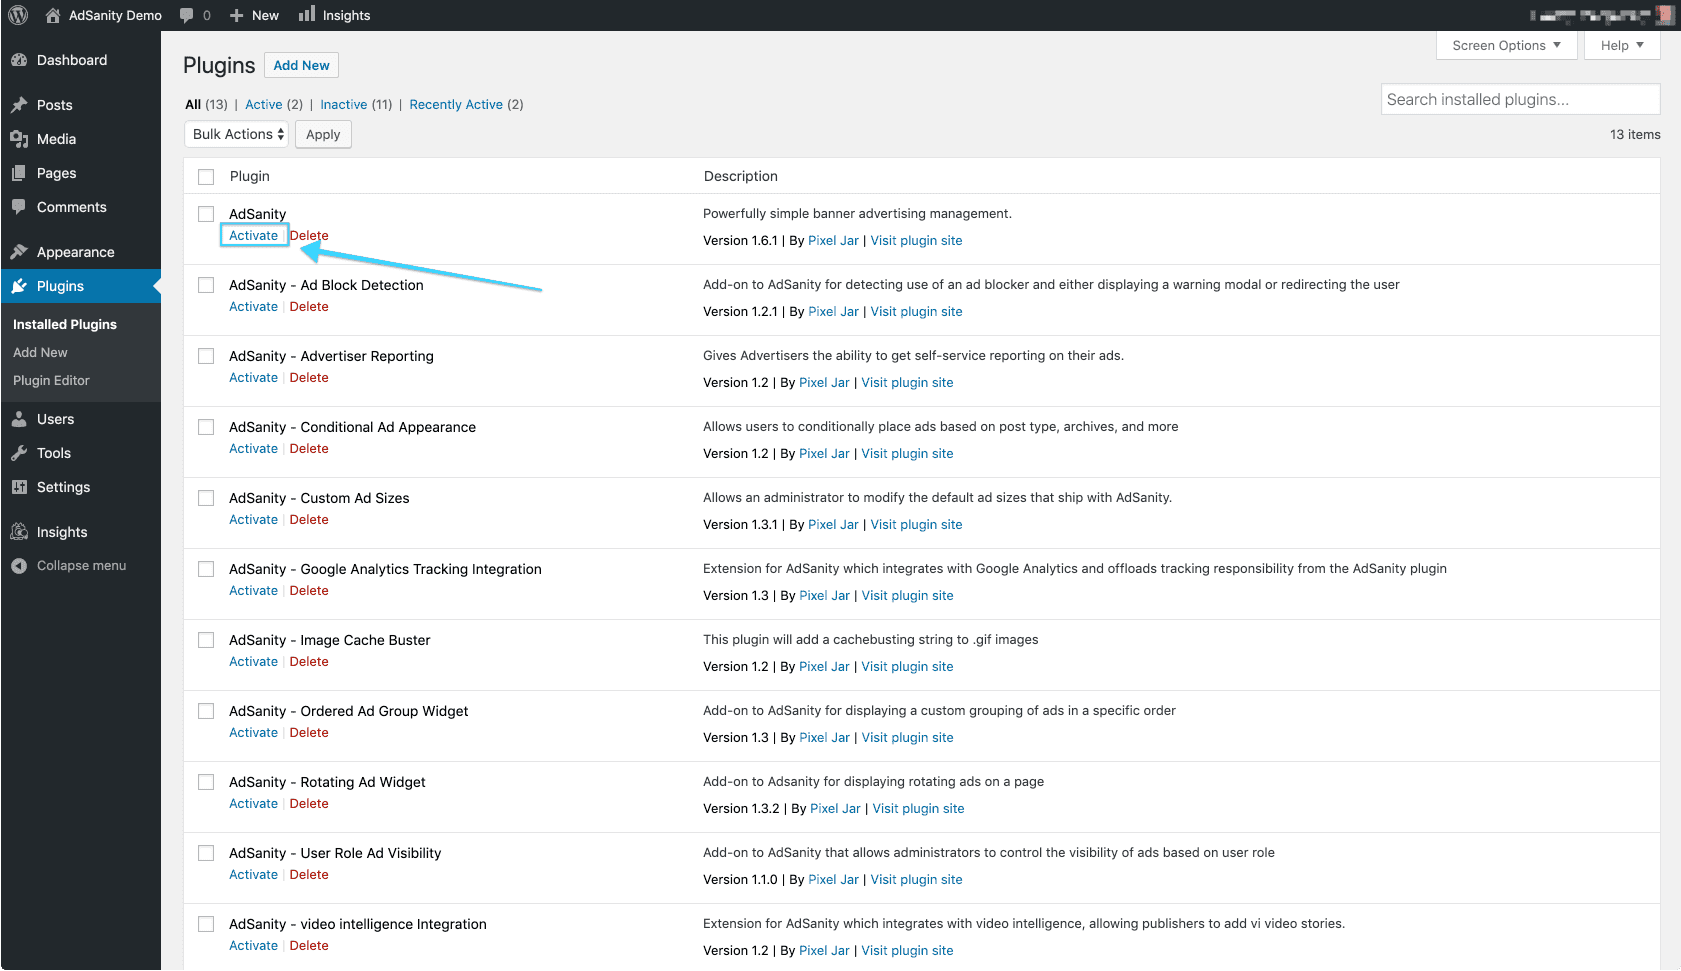
Once the plugin is installed you can return to your WordPress dashboard. Navigate to the Installed Plugins page. You should then click the “Activate” text beneath the AdSanity entry on the list of plugins to complete the installation. (fig. 1) After the plugin has been activated you will see an AdSanity section has been added to your dashboard and the plugin features are ready to use. (fig. 2)

As a final step, navigate to the License tab on the Settings page in the AdSanity section of the dashboard. Here you can enter your license key. (fig. 3) This was emailed to you at the time of your purchase or can be located on the Purchase Confirmation page on the AdSanity site.

Upgrading AdSanity from Earlier Versions
Upgrading AdSanity is easy, but if you have an early version installed then you may not have the automatic updates that are now part of the plugin.
Automatic updates were changed in version 1.1 of AdSanity so if you have an older version, you may be concerned about your ad data.
You can safely deactivate and remove the legacy plugin. The data for your ads is safely stored in your database. You can then install the new version of AdSanity and your ads and click tracking data will be intact.
AdSanity did change the way it handles traffic from fraudulent sources like bots or spiders. This data is no longer collected in the same way and is purged from the database when the new version of AdSanity is installed.
Didn’t find what you were looking for?
If you’re a subscriber to AdSanity and don’t find an answer to your specific question please submit a request and our support department will address your issue quickly.
